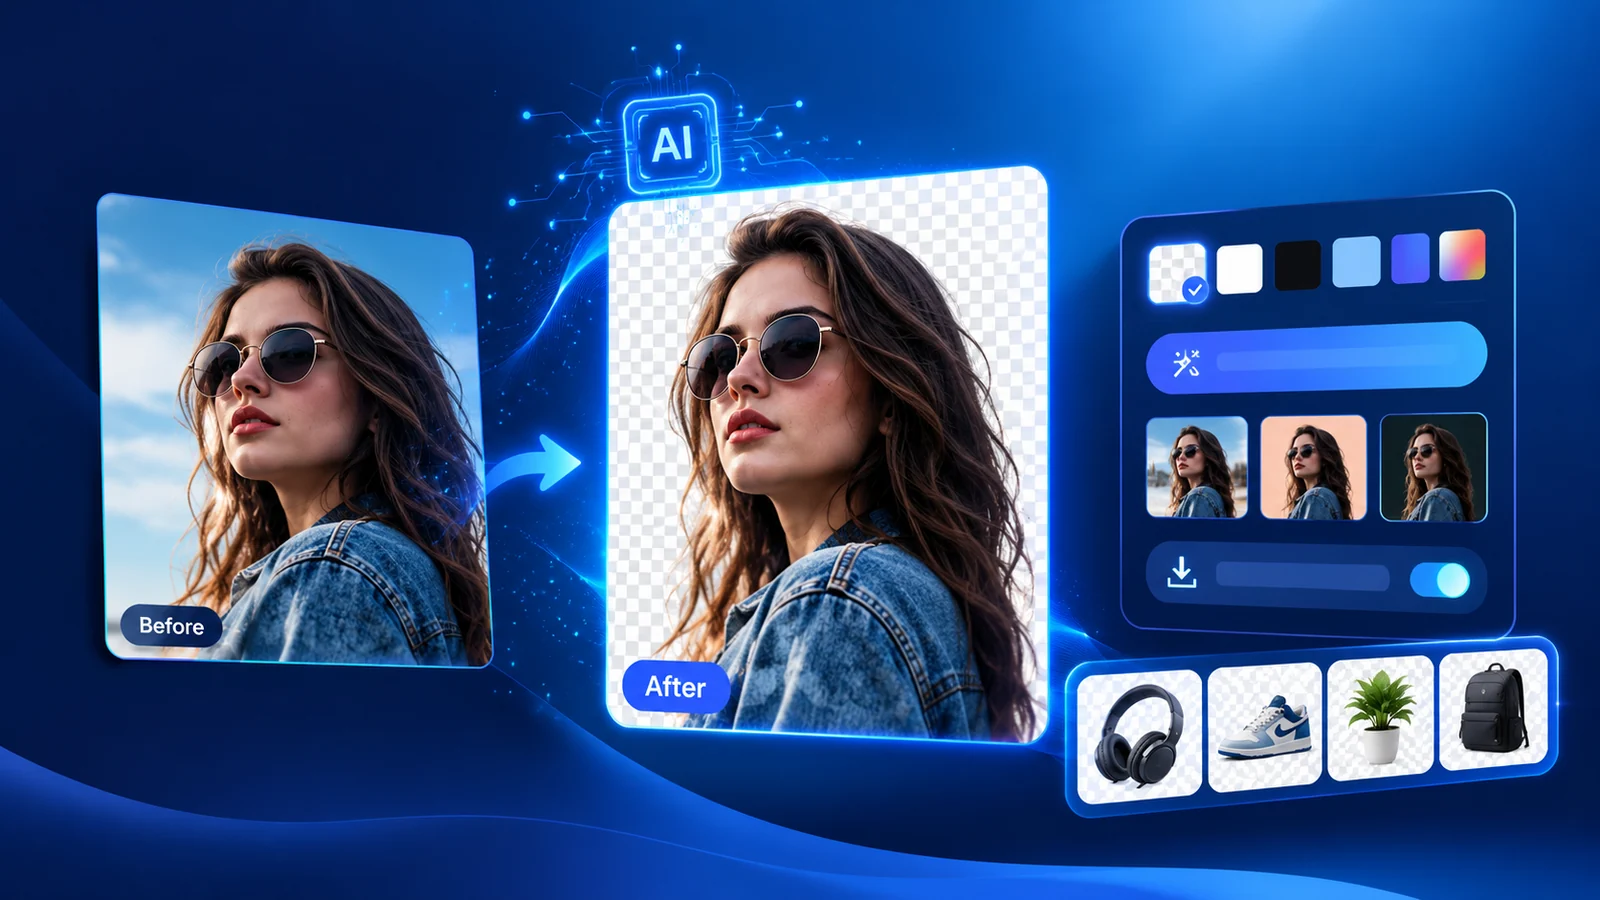
Hero image for an AI background remover with before and after panels
Orixiva AI Background Remover

Orixiva AI Background Remover

Clean cutouts, processed directly in your browser.

Browser processing

Remove Image Background

Drop your image here or choose a file. The AI isolates the subject automatically.

JPG PNG WebP Max 15 MB
Image preview Ready
Uploaded image preview
Original image

AI is analyzing your image

Detecting the subject and mapping fine edges.

Preparing AI engine… 3%
Output Transparent PNG

Free AI Image Background Remover Online

Remove image backgrounds with AI for free, right in your browser. Upload a JPG, PNG or WebP, let Orixiva detect the main subject, and download a transparent PNG without installing any software.

Orixiva is a free AI image background remover that automatically separates the main subject from its background and lets you download the result as a transparent PNG. It supports JPG, PNG, and WebP uploads and processes the image in the browser.

Remove Image Backgrounds in a Few Steps
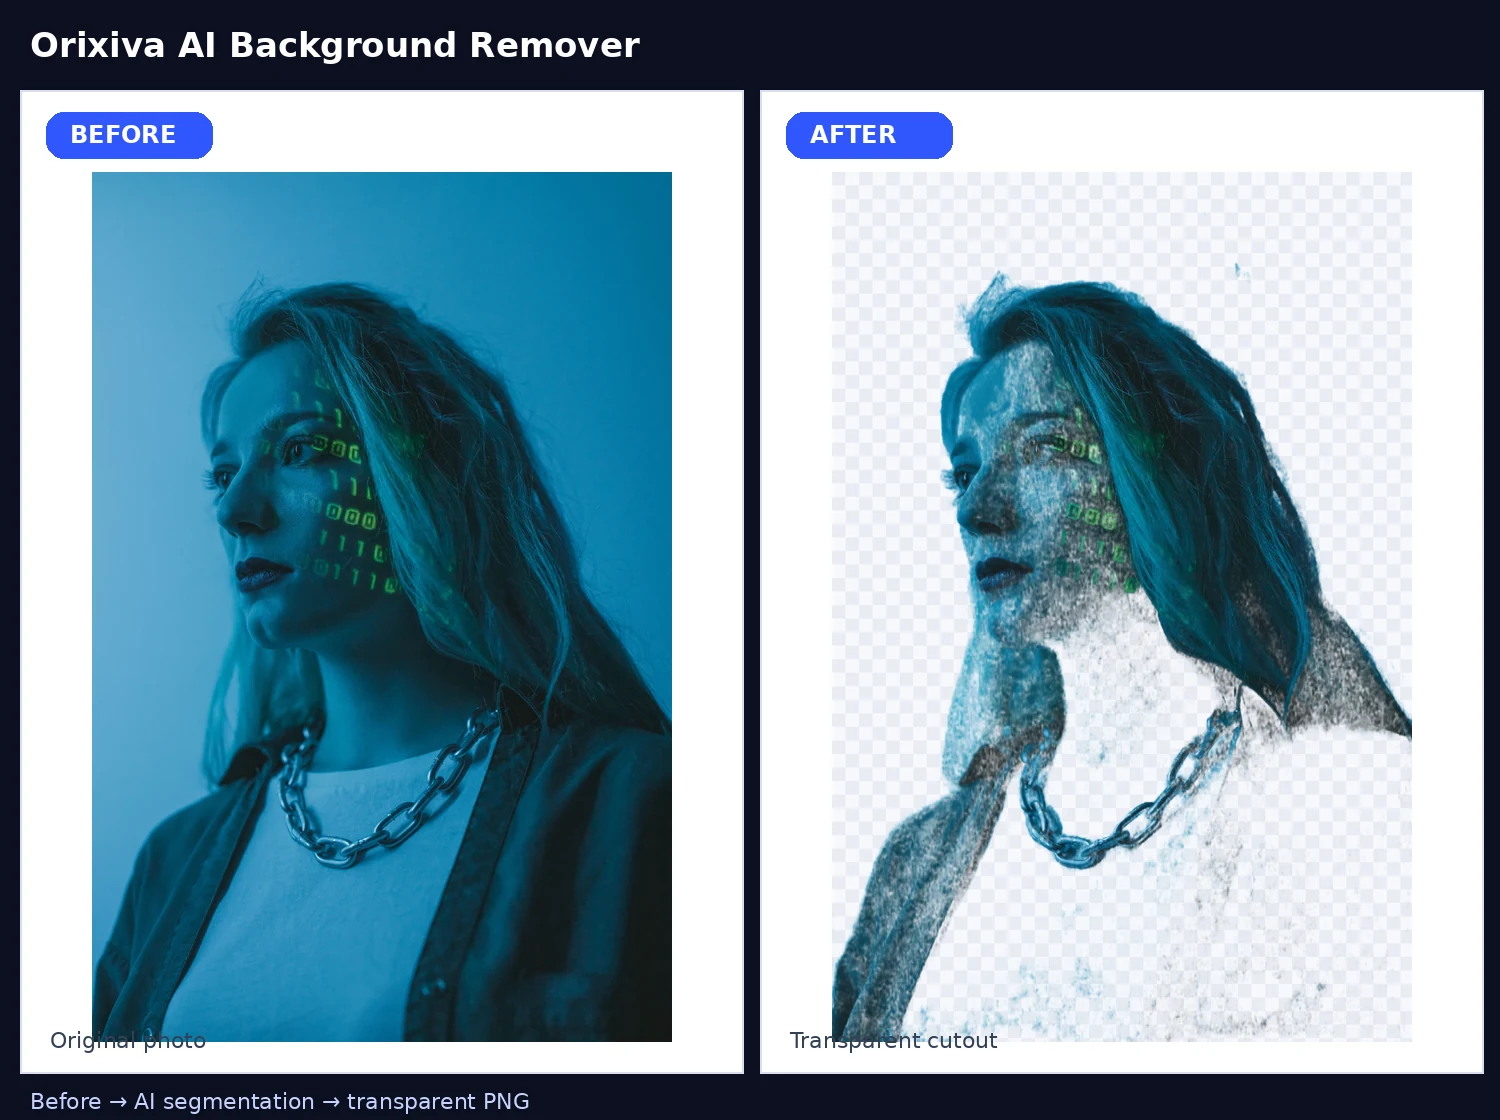
Before and after example of AI background removal

1. Upload your image:
Choose or drop a JPG, PNG or WebP file up to 15 MB. Sharp, well-lit photos give the cleanest edges.

2. Remove the background:
Click “Remove Background with AI”. The AI model finds the main subject and cuts it out, right in your browser.

3. Choose a background and download:
Keep it transparent or pick any solid colour, then download your image as a PNG.

Need to Resize Your Cutout?

Free AI Background Removal for Photos and Images

Use Orixiva for portraits, product photos, social graphics, thumbnails, presentations, listings, and other everyday images where you need a clean subject cutout.

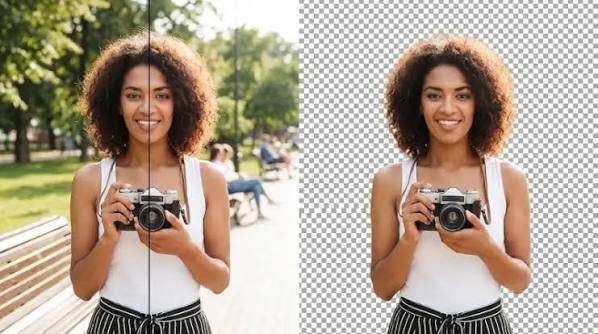
Two portraits with the background removed by AI
Woman holding a camera before and after background removal

Transparent PNG Output

Keep the background transparent when you need a cutout for a design, product listing, thumbnail, presentation, or marketing creative. You can also preview the result against background colors before downloading.

Processed in Your Browser

Your photo is processed locally in your browser by an AI model that downloads to your device the first time you use the tool. The image itself is never uploaded to an Orixiva server, which makes the tool a good fit for personal photos and unreleased product shots.
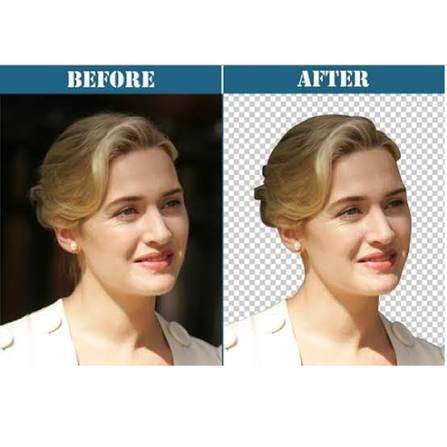
Before and after background removal of a portrait photo
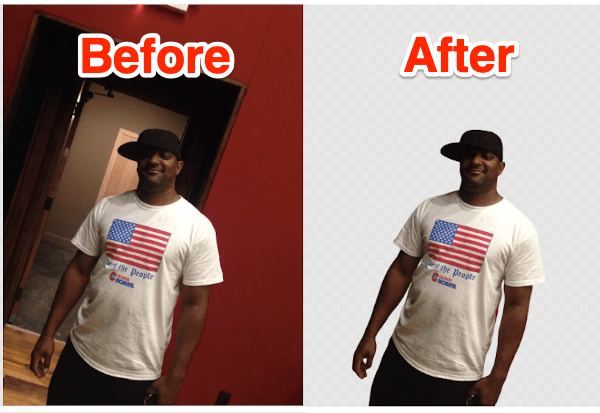
Before and after AI background removal of a man in a white T-shirt

Who Is This Free AI Background Remover For?

It is useful for online sellers, creators, students, marketers, designers, social-media users, and anyone who needs a clean image cutout without opening a full photo editor.

Ready to create a clean cutout? Upload your image and click “Remove Background with AI.”

JPG, PNG, and WebP Support

Upload JPG/JPEG, PNG or WebP images up to 15 MB. The result is always saved as a PNG, the most widely supported format that keeps transparency.
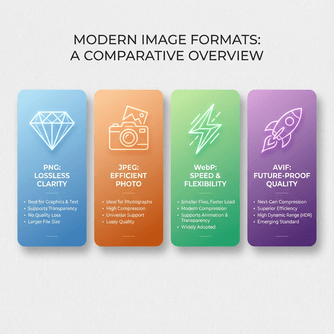
Comparison of image formats for transparent backgrounds

You May Also Like Our Products

social-media-content-planner-template
Digital Products
rental-property-calculator-excel
Digital Products
Digital Products

Rental Property ROI Calculator – Excel Real Estate Investment Analysis

A professional rental property calculator…
$29.00
View Details

small-business-bookkeeping-spreadsheet-template
Digital Products

Tips for a Cleaner Cutout

The AI does most of the work, but the photo you start with makes a big difference. These simple habits give sharper edges and fewer leftover patches.

1

Use good light

Even, bright light shows the edge between subject and background clearly. Avoid strong shadows falling behind the subject.

2

Pick a contrasting background

A dark product on a light wall, or a person in front of a plain backdrop, is much easier to separate than similar colours.

3

Start with a sharp photo

Blurry or heavily compressed images give soft, uneven edges. Upload a clear original, up to 15 MB.

4

Keep one clear subject

The tool looks for the main subject. Crop out extra people or objects first if you only want one of them.

5

Check hair and glass

Fine hair, fur, glass and see-through fabric are the hardest parts. Zoom into the preview before you download.

6

Test on a colour

Switch the preview to a solid colour. Halos and missed spots are much easier to see than on a transparent checkerboard.

AI Background Remover vs. Manual Editing

You can still cut out a subject by hand in a photo editor. Here is how the two approaches compare for everyday images.

Orixiva AI removerManual photo editor
Time per imageA few seconds5 to 30 minutes
Skill neededNoneSelection and masking tools
CostFree, no sign-upOften a paid app
PrivacyProcessed in your browserDepends on the app
Best forPortraits, products, social postsComplex edits and retouching

What to Do With Your Cutout Next

A transparent PNG is often the first step in a bigger job. These free Orixiva tools pick up where the background remover stops:

  • Image Resizer: resize your cutout to exact pixels for a marketplace listing, thumbnail or social post, and compress it to WebP.
  • Image to GIF Maker: combine several cutouts into a simple animated GIF.
  • SVG Converter: turn a simple logo or icon cutout into a scalable vector.
  • File Converter: change formats or place images into PDF documents.

How the AI background remover works in your browser

Most online tools send your photo to a server, cut it out there and send it back. This background remover works differently. When you press Remove Background with AI, a small AI model loads into your browser and runs on your own device. Your photo is never uploaded to an Orixiva server.

The model looks at every pixel and decides how likely it is to belong to the main subject. The result is a mask: white for the subject, black for the background and soft grey along fine edges such as hair. The background remover then turns that mask into the image's alpha channel, so the background becomes see-through and the edges blend smoothly instead of looking cut with scissors. You can read more about how transparency works in images in this guide to alpha compositing.

The first run can take a little longer because the browser downloads the AI model. After that the model is cached, so the next photos are usually much faster. Very large photos are scaled down before processing so that phones and older laptops do not run out of memory.

8 ways to use a free background remover

A clean cutout saves time in almost any job that involves photos. Here are the most common ways people use the background remover, with a quick tip for each.

  1. Online store product photos. Cut out the product, then pick the white background before you download. Amazon, for example, asks for a pure white background on the main product image, so check the rules of your marketplace.
  2. Profile pictures. Remove a messy room behind you and place yourself on a soft colour for LinkedIn, a company website or a CV.
  3. Logos and signatures. Photograph a logo or a signature on white paper, remove the background and keep the transparent PNG for documents, invoices and slides. Our free invoice generator accepts a transparent logo.
  4. YouTube thumbnails. Cut yourself out and place the cutout over a bold background or a screenshot. Thumbnails with a clear face and simple background are easier to read on a small screen.
  5. Presentations and reports. A transparent PNG sits neatly on any slide colour, with no white box around it.
  6. Stickers and social posts. Make a sticker of a pet, a product or a friend and share it in chats or stories.
  7. Flyers and posters. Place people or products on brand colours instead of the original photo background.
  8. Animated GIFs. Remove the background from a few photos, then combine them with the image to GIF maker.

Which format should you download from the background remover?

The background remover gives you a PNG file, because PNG keeps transparency. Choose the background in the panel first, then download.

You wantPick this backgroundWhy
A cutout to place on other designsTransparentKeeps see-through areas, so the subject fits on any colour.
A marketplace product photoWhiteMany marketplaces want a plain white background.
A profile or team photoSoft colour or custom colourGives a calm, consistent look across a team page.
A dark website or appDarkLets you preview how the edges look on a dark page.

If you need a JPG or WebP afterwards, for example to make the file smaller for a website, convert the PNG with the free file converter. Remember that JPG does not support transparency, so pick a solid background first. The MDN image format guide explains the differences between PNG, JPG and WebP in more detail.

Background remover troubleshooting: fix common problems

Most photos come out clean on the first try. When they do not, the cause is usually the photo rather than the tool. Try these fixes.

  • Part of the subject is missing. The subject and background are probably a similar colour. Retake the photo against a contrasting wall, or crop closer to the subject before you upload.
  • Bits of background remain. Busy backgrounds with many objects confuse the AI. Crop out extra objects first, then run the background remover again.
  • Hair looks rough. Use a sharp, well-lit photo. Hair against a plain, bright background gives the softest edges.
  • Glass or see-through items look odd. Glass takes its colour from what is behind it, so the AI cannot always tell what to keep. Check the preview on a dark and a light background.
  • Shadows disappear. The background remover removes everything that is not the subject, including floor shadows. If you need a shadow, add it in your design app afterwards.
  • It is slow on my phone. All the work happens on your device, so older phones take longer. Close other apps, or resize big photos first with the image resizer.
  • The file will not upload. Use JPG, PNG or WebP under 15 MB. HEIC photos from some iPhones need converting to JPG first.

Is an online background remover safe to use?

With many online tools, you cannot be sure where your photo goes after you upload it. That matters for ID photos, family pictures and unreleased products. Because this background remover processes images locally, your photo stays on your device. The page only downloads the AI model; it does not send your image back. You can learn more on our page about client-side tool processing.

A few sensible habits still help. Do not use any photo editing tool to change official documents, and always check that you have the right to edit and publish a photo of another person. For passport or visa photos, follow the exact rules of the issuing office, because many do not accept edited backgrounds.

A simple background remover workflow for product photos

If you sell online, you can turn a phone photo into a listing-ready image in a few minutes:

  1. Place the product near a window, on a plain sheet of paper, and take the photo straight on.
  2. Open the background remover, upload the photo and press Remove Background with AI.
  3. Pick the white background and check the edges in the preview.
  4. Download the PNG and resize it to the size your store asks for with the image resizer.
  5. Create a barcode label for the same product with the free barcode generator if you need one.

Repeat the same steps for every product so your shop looks consistent. Looking for more free tools like this background remover? Browse all free AI tools or the full list of free online tools on Orixiva.

3 quick background remover examples

Example 1: a mug for an online shop

Photo: a white mug on a kitchen table. Because the mug and the table are both light, first move the mug onto a darker cloth and take a new photo. The background remover then finds the edge easily. Pick the white background, download, and the mug sits on clean white with no table edge in sight.

Example 2: a team headshot

Photo: a colleague in front of a busy office. Upload it, keep the transparent background and download the PNG. Do the same for every team member, then place all the cutouts on the same brand colour in your design app. The team page now looks like one photo shoot, even though the pictures were taken in different places.

Example 3: a handwritten signature

Photo: a signature in blue ink on white paper. The background remover keeps the ink and removes the paper, giving you a transparent signature you can place on letters, certificates or invoices. Keep the file private, because a signature image is personal.

In all three examples the steps are the same: start with a clear photo, let the background remover do the cutting, check the edges, then choose the background you need before you download.

Frequently Asked Questions

What is an AI background remover?
An AI background remover automatically finds the main subject in a photo and separates it from the background, giving you a cutout you can place on a transparent or new background.

Is the Orixiva background remover free?
Yes. It is completely free, with no sign-up, no credits and no watermark on your download.

Does Orixiva upload my image to a server?
No. The AI model runs inside your browser, so your photo is processed on your own device. The model files are downloaded the first time you use the tool, but your image is never uploaded to Orixiva.

Which image formats are supported?
You can upload JPG/JPEG, PNG and WebP images up to 15 MB. The result is downloaded as a PNG file.

Can I add a coloured background instead of transparent?
Yes. After the background is removed, keep it transparent or pick any solid colour before you download.

Why is the first run slower?
On first use your browser downloads the AI model. After that it is cached, so later images are processed faster. Speed also depends on your device.

Does it work on mobile?
Yes. It works in modern mobile browsers. Large photos can take longer on phones because all processing happens on the device.

Will every image have perfect edges?
Most portraits, products and objects come out clean. Fine hair, glass, see-through fabric and subjects the same colour as the background are harder, so check the preview before downloading.