Try our free AI tools – no sign-up needed!

How to Resize an Image Online for Free Without Losing Quality
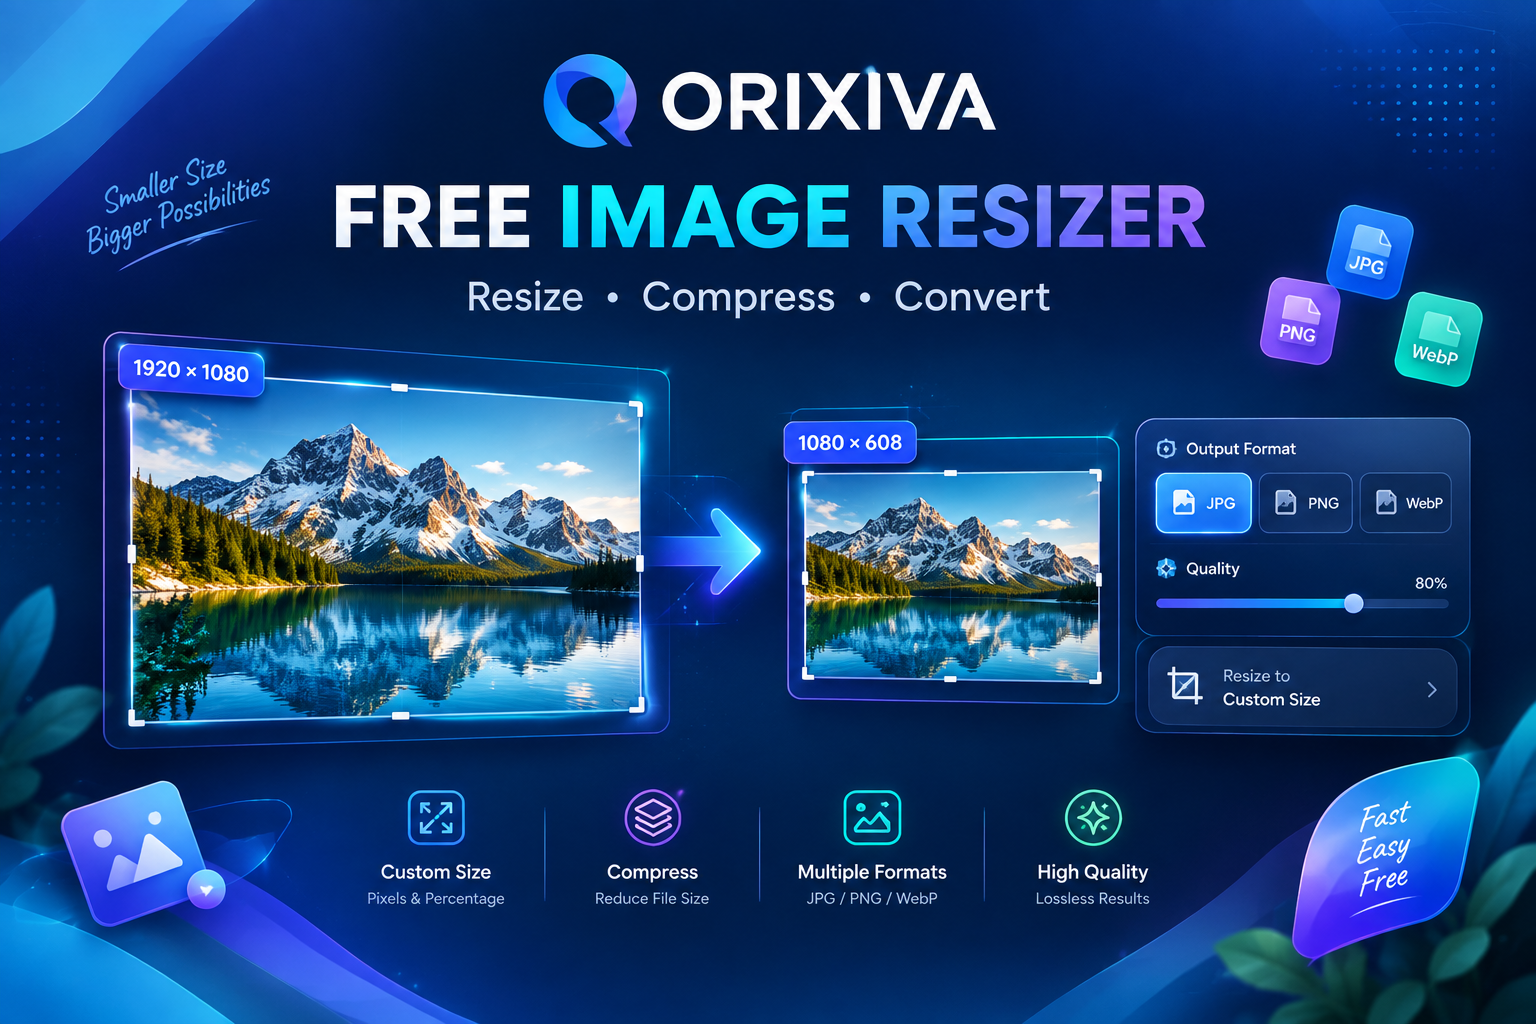
Need to resize a photo for a website, social post, product listing, presentation, or document? You do not always need a desktop editor. A browser-based image resizer can change the pixel dimensions of an image, keep its proportions, and export a web-friendly format in a few clicks.
This guide explains what image resizing changes, how to choose dimensions, how to avoid distorted images, when to use WebP/JPG/PNG, and how to reduce file size without treating “smallest possible file” as the same thing as “best quality.”
What is an image resizer?
- An image resizer changes the pixel dimensions of an image. For example, a 2400 × 1600 photo can be resized to 1200 × 800 while keeping the same 3:2 aspect ratio. Resizing changes the underlying pixel dimensions; it is not the same as changing only the display size in a document or webpage.
- An image resizer is useful when a destination asks for a particular width and height, when an image is much larger than necessary for the screen, or when you need a consistent set of product or social-media images.
How to resize an image online
1. Upload your image or drag it into the resizer.
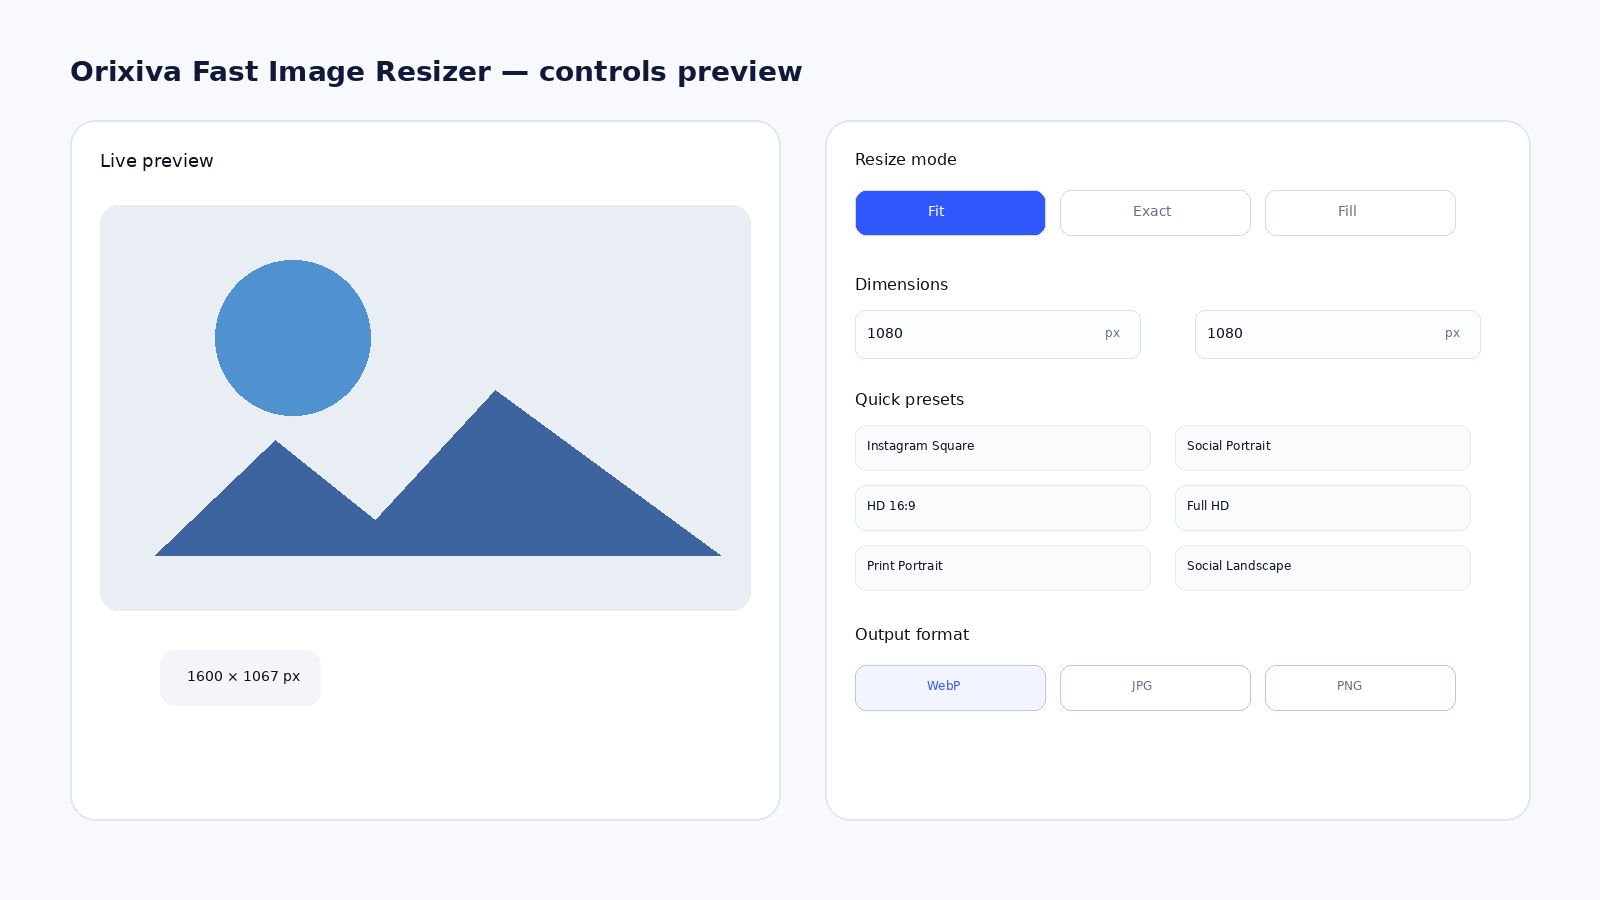
2. Choose a resize method: fit the image inside a target box, use exact dimensions, or fill the target by cropping to the target ratio.
3. Enter the pixel dimensions or choose a preset.
4. Lock the aspect ratio when you want to preserve proportions.
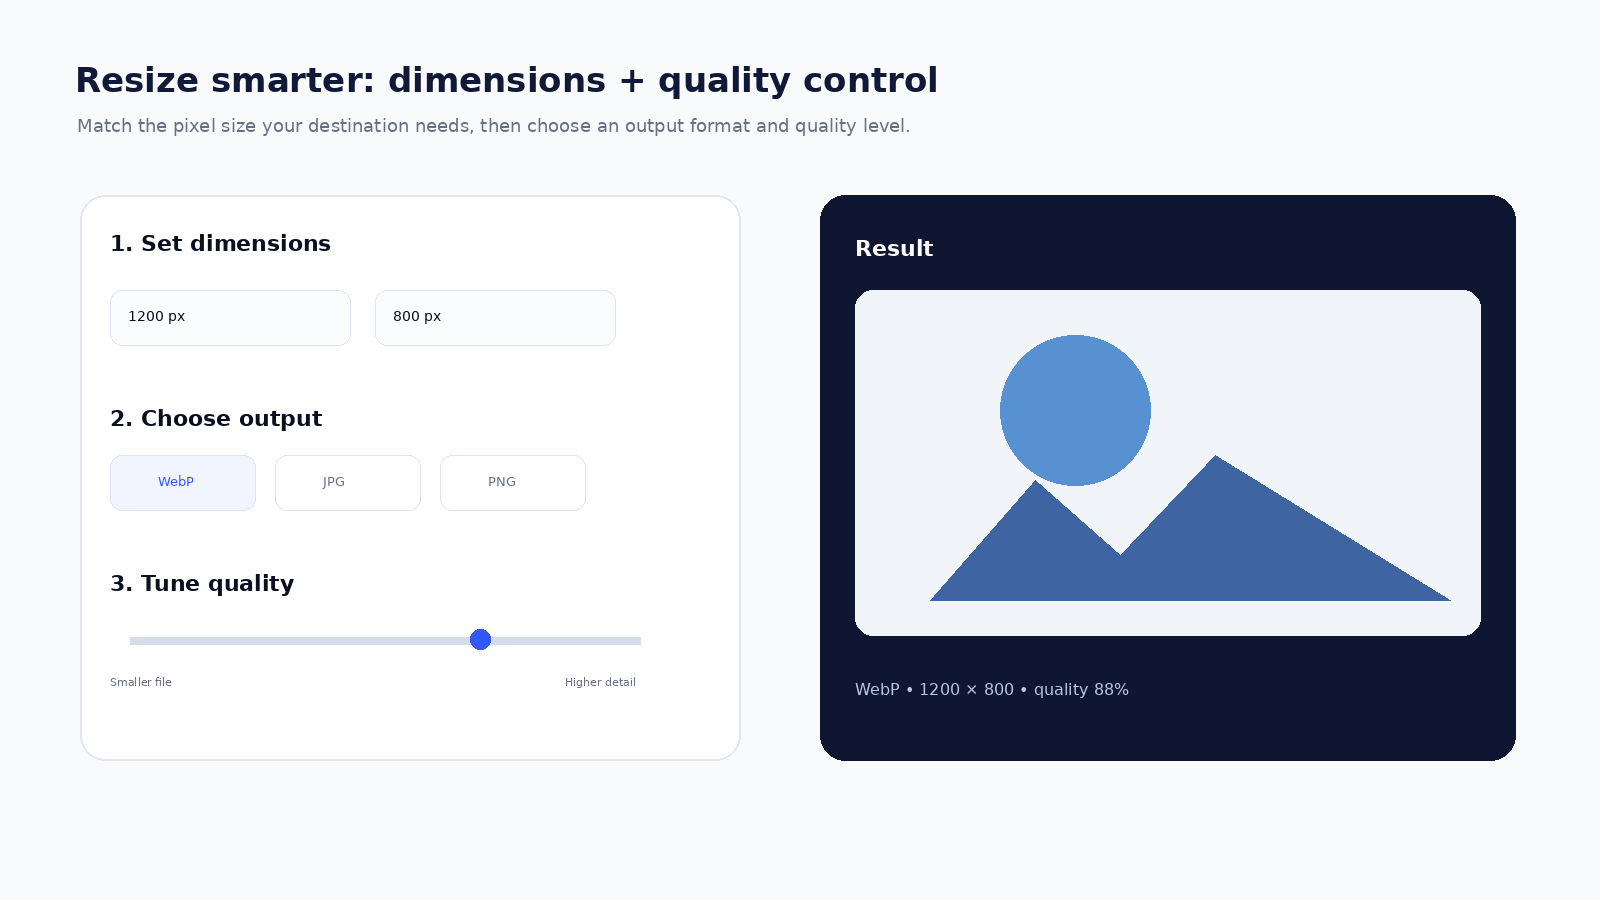
5. Choose an output format such as WebP, JPG, or PNG and adjust quality where supported.
6. Download the resized image.
With Orixiva, these operations are designed to happen in the browser, so the current tool does not need to upload the source image to an Orixiva image-processing server.
Pixels vs file size: what is the difference?
Pixel dimensions tell you how many pixels the image contains. File size tells you how many bytes the encoded file occupies. A 1200 × 800 image can be much larger or smaller in KB depending on its format, compression, visual detail, and encoding settings.
For a website, you often need to manage both. A useful workflow is to choose sensible pixel dimensions first, then select a modern output format and quality level that gives you an appropriate file size.
How to resize without stretching the image
Stretching happens when the target aspect ratio differs from the source and the image is forced into the new width and height. To avoid that, lock the aspect ratio or use a “fit” workflow.
For example, a 1600 × 1200 image has a 4:3 ratio. Resizing it to 800 × 600 preserves that ratio. Resizing it to 800 × 800 without cropping or padding can distort the content. When the destination requires a square image, use a crop-to-fill workflow or add padding rather than stretching the photo.
Fit vs Exact vs Fill
Fit is useful when you need an image to stay fully visible inside a target box. The entire source image is preserved, although the result may not fill every pixel of the target rectangle if the ratios differ.
Exact is for situations where the output must use the precise width and height you enter. This can change the aspect ratio if the values do not match the source.
Fill is useful when the target rectangle must be completely covered. The source is cropped to the target ratio before being drawn into the output.
How to reduce the file size after resizing
Start with the required pixel dimensions instead of compressing a huge original repeatedly. Then choose an appropriate output format and quality setting.
For lossy formats, a quality control can be used to trade a little file size for visual detail. If you have a maximum KB requirement, Orixiva also includes an optional target-size field for lossy formats. The target is an optimization goal rather than a guarantee for every image and browser encoder.
How to resize an image for Instagram and other platforms
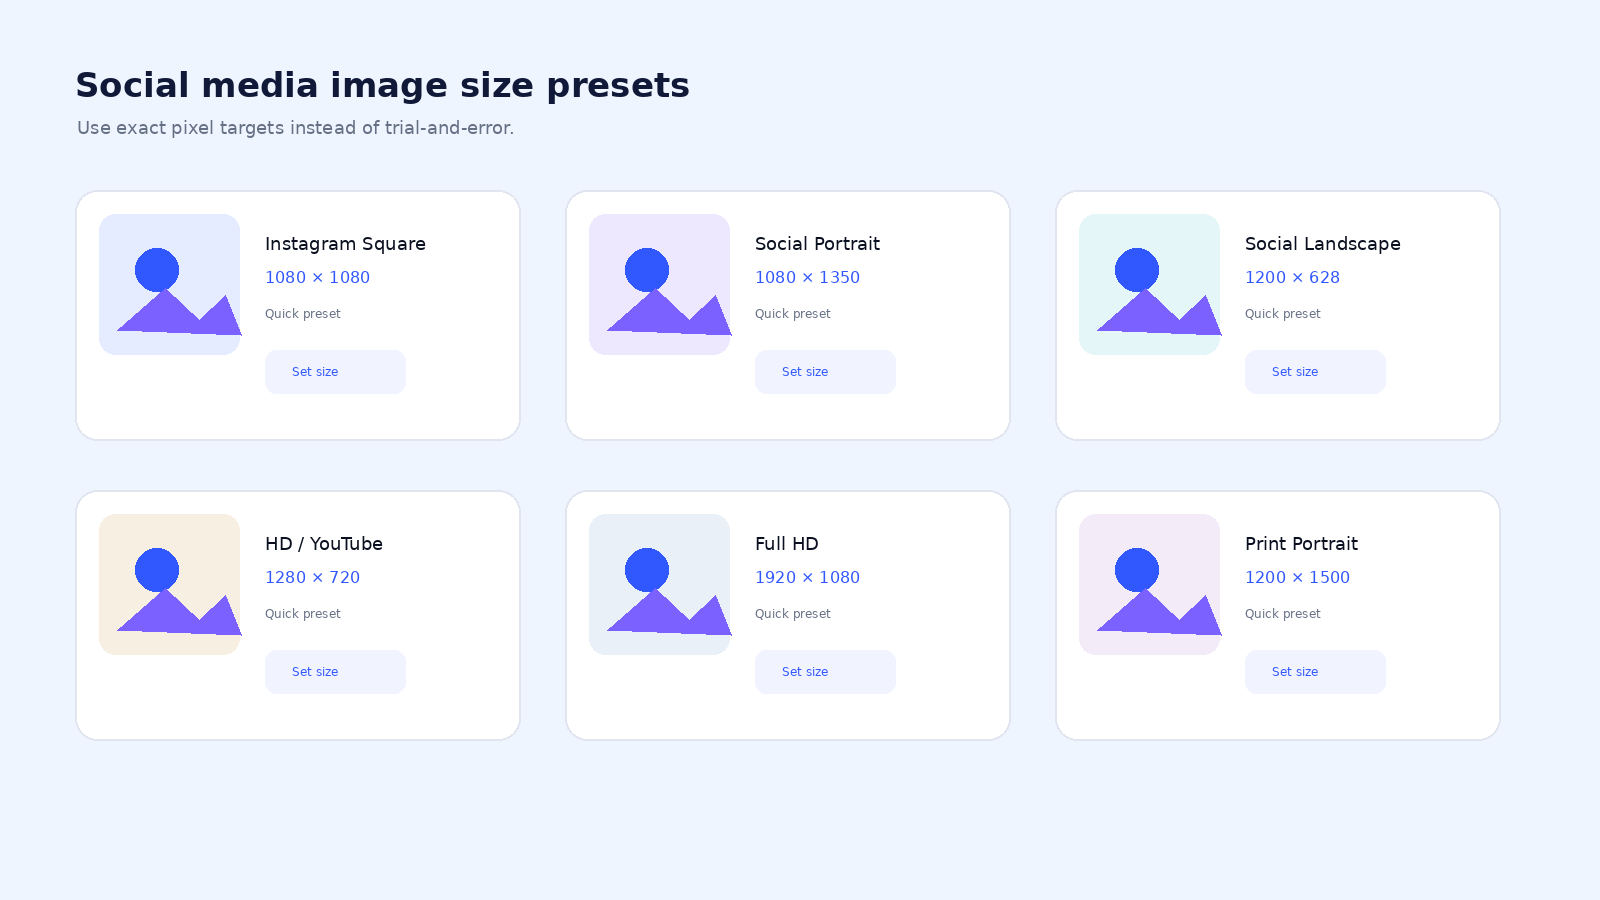
Orixiva includes quick presets such as 1080 × 1080 for a square social image, 1080 × 1350 for a portrait-oriented social image, 1280 × 720 for HD content, and 1920 × 1080 for Full HD.
Platform dimensions can change, and not every destination uses the same crop or display behavior. Treat presets as convenient starting points and confirm the current requirement for the specific platform or template you are publishing to.
Can I resize multiple images at once?
Yes. Orixiva’s current interface includes a batch queue so you can add multiple images and apply a consistent resize configuration. This is useful for ecommerce catalogs, website assets, presentation images, and repeated social content. The current HTML implementation processes the queue and automatically downloads the last completed result; a future version could add a dedicated “download all” workflow.
Are browser-based image resizers private?
A browser-only tool can process an image on the device without uploading the source to a remote processing server. That can be valuable for images that users prefer to keep local.
Orixiva’s current tool performs image decoding, resizing, and encoding in the browser. As with any website tool, users should still review the page’s privacy statement and browser permissions before processing sensitive images.
Common image resizing mistakes
The most common mistakes are choosing the wrong aspect ratio, confusing pixel dimensions with file size, over-compressing photographs, exporting photographs as oversized PNG files, and resizing an image repeatedly through multiple editors.
A simple workflow is usually better: start from the highest-quality source, set the final pixel dimensions, choose the correct crop or fit behavior, select the output format, and export once.
Frequently asked questions
What is the difference between resizing and compressing an image?
Resizing changes the pixel dimensions, for example 2400 x 1600 to 1200 x 800. Compressing reduces the file size by encoding the same pixels more efficiently. You often do both for the web.
How do I resize an image without stretching it?
Keep the aspect ratio locked. Change only the width or the height and let the other side update automatically, so a 3:2 photo stays 3:2.
Which format should I use: WebP, JPG or PNG?
WebP gives small files for most web images, JPG is widely supported for photos, and PNG is best for graphics, screenshots and images that need a transparent background.
Can I make a small image bigger without losing quality?
Not really. Enlarging adds pixels that were never in the original, so the image becomes softer. Start from the largest original you have and resize down.
What size should images be for a website?
Use roughly the largest size the image is displayed at, for example about 1,200 to 1,600 pixels wide for a full-width blog image. Much larger files slow the page down without looking better.
How small can I make the file without it looking bad?
Lower the quality setting step by step and compare. For many photos, WebP or JPG at about 70 to 85% quality looks almost the same as the original at a fraction of the size.
Does resizing remove the photo metadata?
Exporting a new file usually removes most metadata such as camera details. Check the output if you need to keep or remove location data for privacy.
Is the Orixiva image resizer free and private?
Yes. It is free with no sign-up, and the resizing happens in your browser, so your images are not uploaded to a server.