Try our free AI tools – no sign-up needed!

How to Remove an Image Background for Free (Product Photos That Sell)
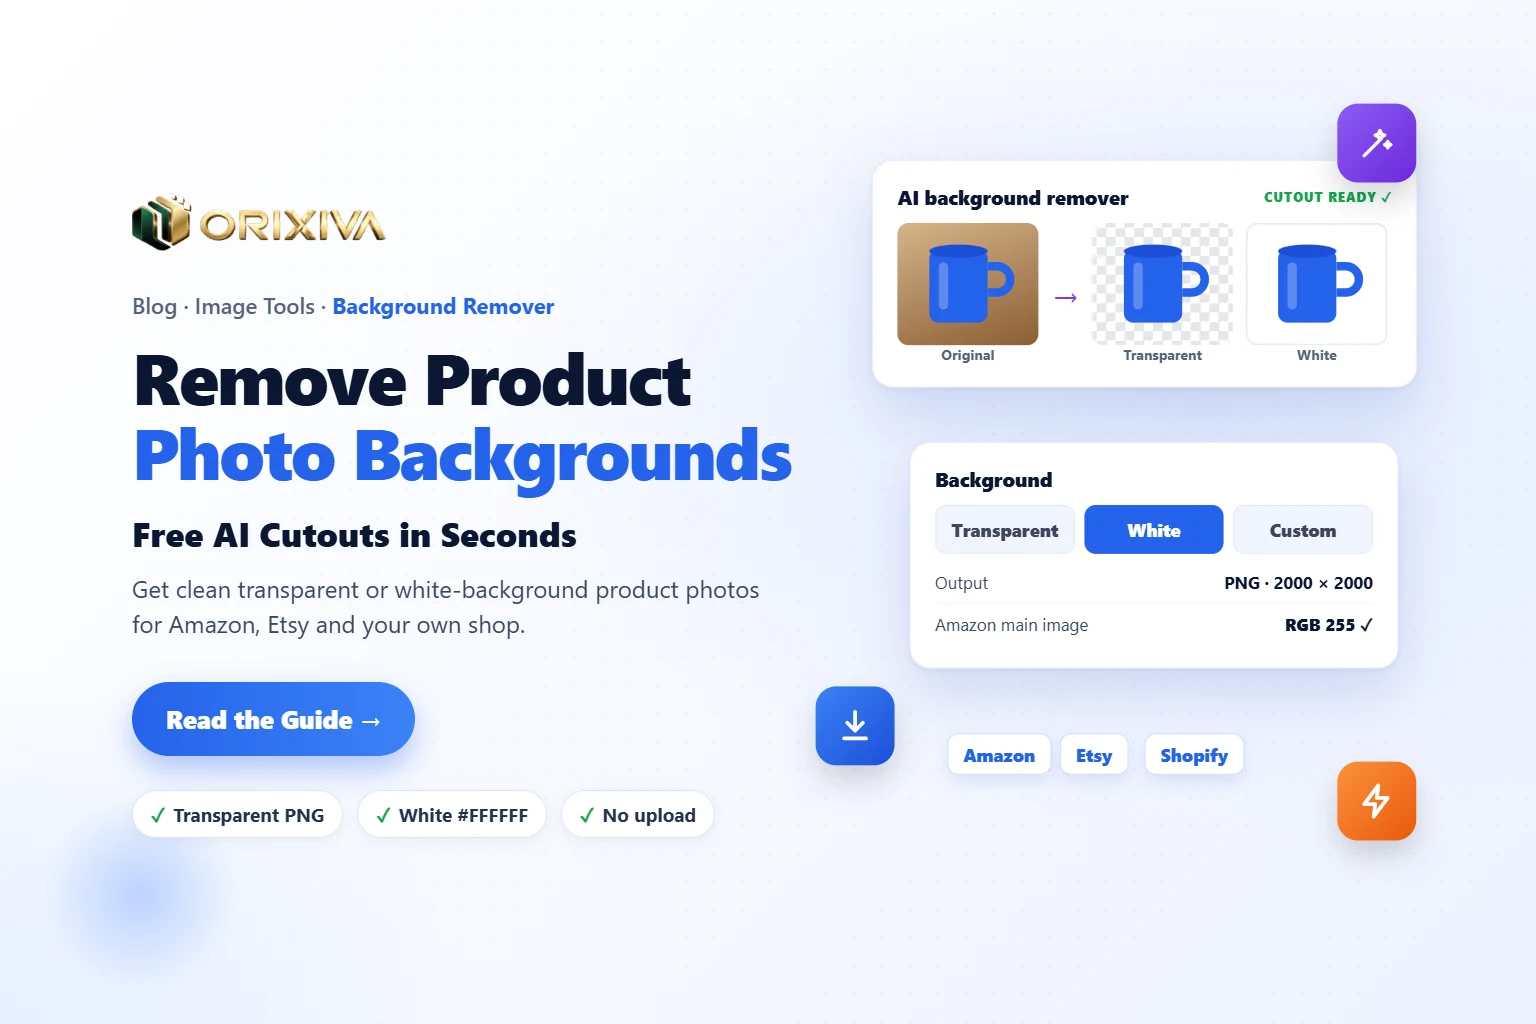
Got a product photo to clean up? The free AI background remover cuts out your product in seconds, right in your browser.
Jump to the free tool ↓A clean, white or transparent background makes a product look professional and lets buyers focus on what they are paying for. The good news: you no longer need a studio or design software. This guide shows you how to remove background from product photos for free, step by step, and how to turn the cutout into a marketplace-ready image.
You will learn how to shoot a photo that cuts out cleanly, which background to use for Amazon, Etsy, Shopify and social media, and how to fix tricky items like glass and fur. Every step uses the free Orixiva AI background remover, which runs on your own device, so your unreleased products are never uploaded to a server.
Key takeaways
- A good cutout starts with a good photo: even light, a plain contrasting background and one clear product.
- The AI background remover finds the product, removes everything else and gives you a transparent PNG.
- Amazon’s main image needs a pure white background (RGB 255, 255, 255) with the product filling about 85% of the frame.
- After the cutout, resize to a square, add a white background if needed, and compress before uploading.
- Check hair, fur, glass and shadows at full size; they are the hardest parts for any AI.
Why product photos need a clean background
Online, buyers cannot touch your product. The photo has to do the selling, and a busy kitchen counter or a messy desk behind it pulls attention away. A clean background does three useful jobs:
Focus
Nothing competes with the product, so shape, colour and details are easy to see in a small search thumbnail.
Consistency
When every item sits on the same white or colour, your shop looks organised and trustworthy.
Rules
Big marketplaces have strict main-image rules. A white background is often required, not optional.
Reuse
A transparent cutout can be dropped onto banners, ads, thumbnails and social posts without reshooting.
How to shoot a product photo that cuts out cleanly
AI is good, but it cannot invent edges that the camera did not capture. Five minutes of setup saves an hour of fixing.
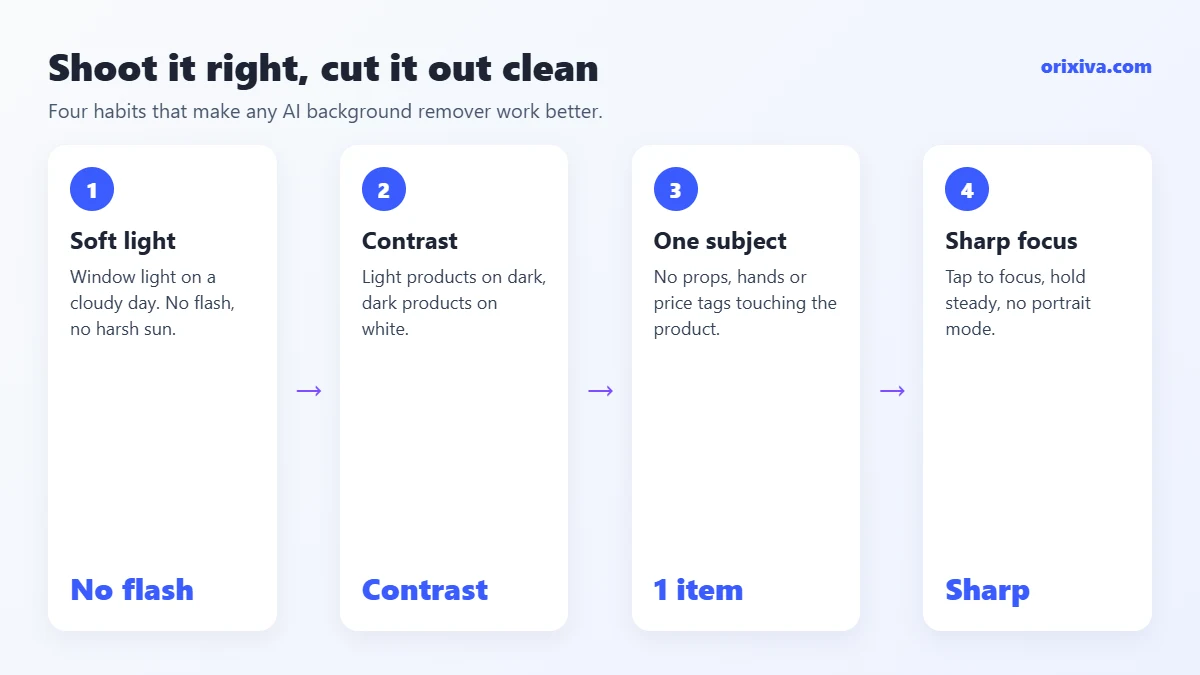
- Use soft, even light. A window on a cloudy day is ideal. Avoid harsh sun and on-camera flash, which create hard shadows that look like part of the product.
- Pick a contrasting background. A white mug on a white table is hard to separate. Put light products on a darker sheet and dark products on white paper.
- Keep one clear subject. Remove props, hands and price tags. If two products touch, the AI may treat them as one.
- Shoot sharp. Tap to focus on the product and hold the phone steady. Blurry edges become fuzzy cutouts.
- Fill the frame, but leave a margin. Leave a little space on every side so no part of the product is cut off.
Phone camera settings that help
Turn off portrait or “bokeh” mode, which blurs edges on purpose and confuses the cutout. Use the main lens (1×) rather than digital zoom, step back a little instead of zooming, and lock focus and exposure on the product. Wipe the lens before you start; a fingerprint smear makes every edge soft.
Tip: a simple home studioTape a large sheet of white card so it curves from the wall down onto the table (a “sweep”). Place the product in the middle, near a window. You get smooth light and no visible corner behind the item.
How to remove background from product photos (step by step)
This takes about a minute per photo with the free Orixiva background remover. No account, no watermark and no upload to a server.
- Open the tool and add your photo. Go to the AI background remover and drop a JPG, PNG or WebP file (up to 15 MB) onto the page, or press Choose Image.
- Press “Remove Background with AI”. The first time, the AI model downloads to your browser, which can take a moment on a slow connection. After that it works much faster. A progress bar shows each stage.
- Check the cutout. Compare the original and the result. Zoom in on edges, handles, straps and any see-through parts.
- Choose the background. Keep Transparent for design work, or pick Custom color and enter pure white (#FFFFFF) for marketplace listings, or your brand colour for social posts.
- Download the PNG. Press Download PNG. Your file keeps its transparency, or the solid colour you picked.
- Do the next photo. Press Upload Another Image and repeat. The model is already loaded, so later photos are quicker.
Why “in your browser” mattersMany background removers upload your picture to their servers. For unreleased products, client photos or personal pictures, that can be a problem. The Orixiva tool processes the image locally; the image itself is never sent to an Orixiva upload server.
White, transparent or colour: which background should you use?
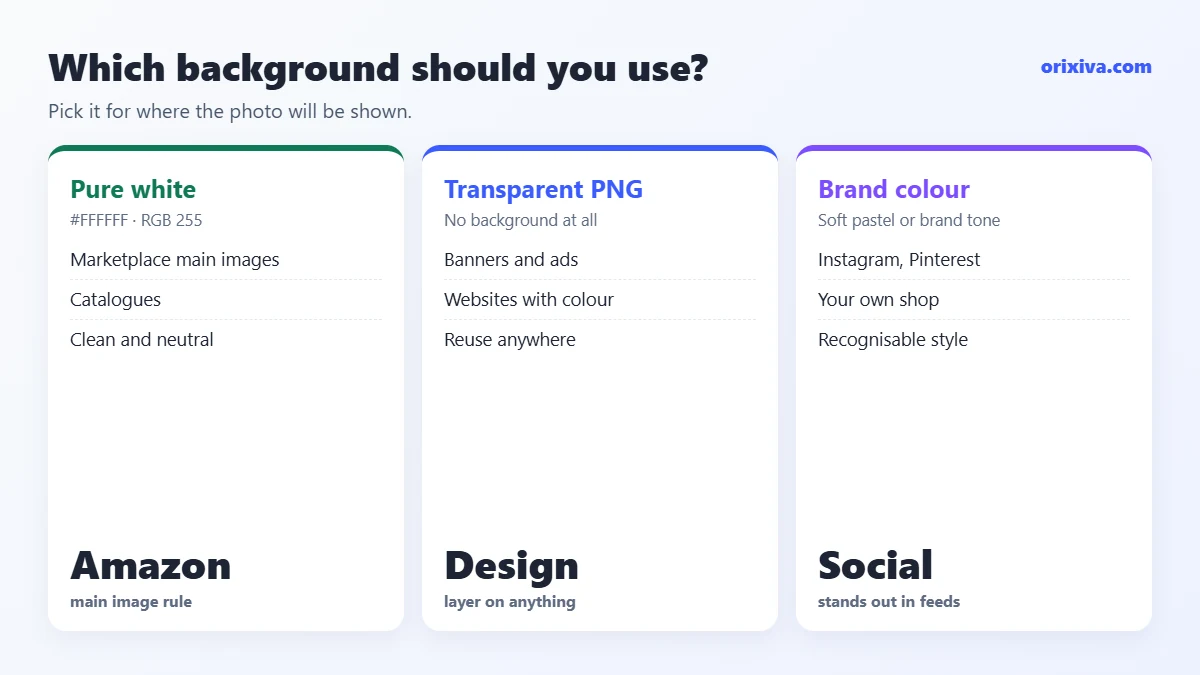
| Background | Best for | Why |
|---|---|---|
| Pure white (#FFFFFF) | Marketplace main images, catalogues | Required or expected by many marketplaces; looks clean and neutral |
| Transparent PNG | Designs, banners, ads, websites with coloured sections | The product sits on any background without a box around it |
| Brand colour or soft pastel | Instagram, Facebook, Pinterest, your own shop | Stands out in a feed and builds a recognisable style |
| Light grey (#F5F5F5) | Websites with white pages | Shows the edges of white products on a white page |
Marketplace image rules to know
Each marketplace publishes its own rules, and they change. Always check the current help page for your category. As a starting point:
Amazon main image
- Pure white background, RGB 255, 255, 255.
- The product should fill about 85% of the image frame.
- At least 1,000 pixels on the longest side lets buyers zoom; 500 px is the minimum. JPEG is preferred.
- No added text, logos, watermarks or extra props on the main image (secondary images are more flexible).
Summary based on published guides to Amazon’s image requirements; confirm the rules for your category in Seller Central.
Etsy, Shopify, eBay and your own shop
These platforms are less strict about white, but they reward consistency. Choose one style (white, light grey or one soft colour), use the same square size for every product, and keep the product the same size in the frame across your catalogue.
After the cutout: size, format and file size
Removing the background is step one. To get a marketplace-ready file, finish with three quick steps:
- Make it square. Most shops display products in a square grid. A 1,200 × 1,200 or 2,000 × 2,000 px canvas works almost everywhere.
- Convert to JPG for marketplaces. PNG keeps transparency but makes larger files. With a white background, a JPG at quality 80–85 looks the same and loads faster.
- Compress. Product pages load faster with images under about 200KB. The free image compressor can hit an exact size, and the bulk image resizer has a ready WooCommerce products recipe: JPG on white, fitted to 1,200 × 1,200, under 200KB, with clean file names.
Our guides on compressing an image to an exact size and resizing many images at once go into these steps in detail.
Quick checklist before you upload
- Edges are clean on both a dark and a white background.
- The product fills most of the square and is centred.
- Marketplace main image: pure white background, no text, no props.
- File is JPG (or PNG if you need transparency) and under about 200KB for web pages.
- File name describes the product, like blue-ceramic-mug.jpg, not IMG_4821.jpg.
Run through it once per batch, and every listing will look like it came from the same studio, even if you used a free background remover and a phone.
How to handle tricky products
Glass, bottles and clear plastic
See-through items show the background through them, so the AI may make parts transparent or keep bits of the old background. Shoot them against a plain white or light grey background, so whatever shows through is already clean.
Fur, hair, fluffy and knitted items
Fine strands are the hardest part of any cutout. Use a strongly contrasting background and plenty of light, and check the result on a dark colour, where stray halo pixels are easiest to see.
White products on white
Shoot on a mid-grey or coloured sheet instead. After the cutout, place the product back on pure white: the edges will be crisp because the AI could see them.
Shadows and reflections
A soft natural shadow can look nice, but the AI usually removes it with the background. If you want a shadow, add a soft one in your design tool afterwards, the same for every product.
Products with holes
Handles, chairs, jewellery and bags have gaps the background shows through. Check that those gaps became transparent too; if not, reshoot on a more contrasting background.
Worked example: a mug for an online shop
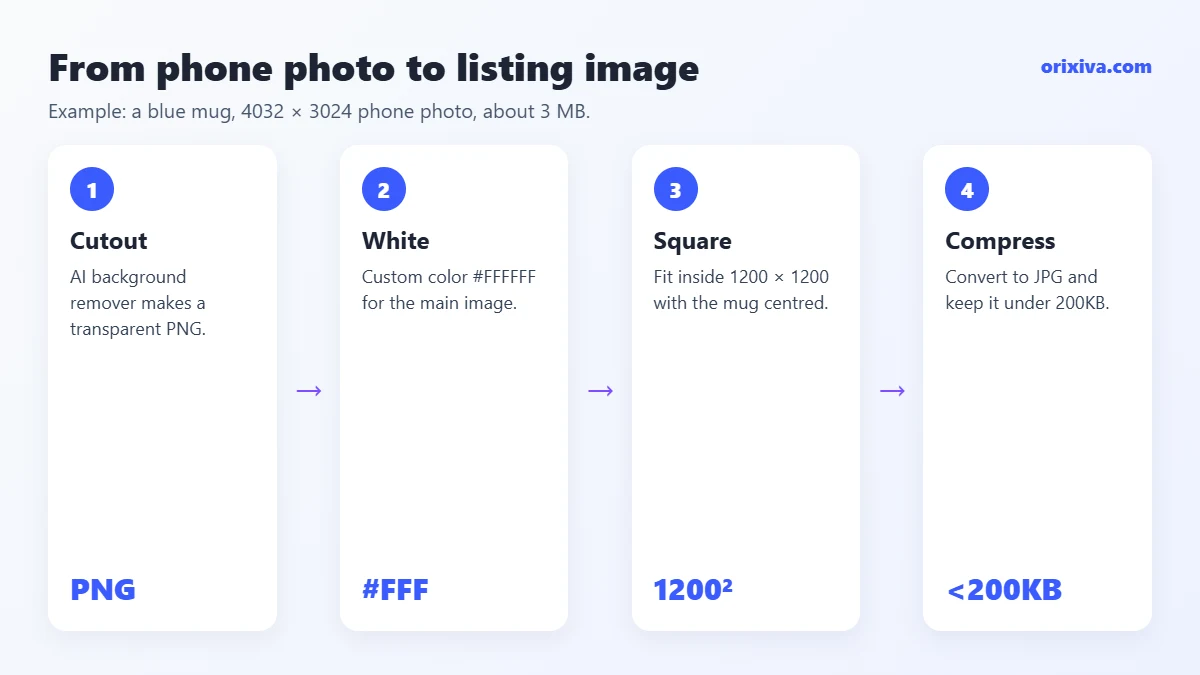
Here is how to remove background from product photos in a real case. A small shop owner photographs a blue ceramic mug on a wooden table with a phone. The original photo is 4,032 × 3,024 pixels, about 3 MB, with a kitchen in the background.
Mug: from phone photo to listing image
About 3 minutes in total
4 stepsAbout 3 minutes in total
| Step | Tool | Result |
|---|---|---|
| Remove background | AI background remover | Transparent PNG cutout of the mug |
| Add white background | Custom color #FFFFFF | Mug on pure white, ready for marketplaces |
| Square and resize | Bulk image resizer (fit 1200 × 1200, white) | 1,200 × 1,200 px with the mug centred |
| Convert and compress | JPG, under 200KB | A light file that loads fast and zooms well |
The same steps work for clothing, cosmetics, electronics and handmade items.
Background removal for social media, ads and thumbnails
A transparent cutout is useful far beyond marketplace listings. Once the background is gone, you can place the same product photo anywhere:
- Instagram and Facebook posts: put the product on your brand colour, add a short headline and a price sticker.
- Ads and banners: layer the cutout over a lifestyle photo or gradient, so the product stays sharp and the background can change for each campaign.
- YouTube and blog thumbnails: a large product cutout with bold text gets more clicks than a busy photo.
- Presentations and catalogues: cutouts line up neatly on a page, with no mismatched backgrounds.
Keep a folder of transparent PNGs for your best sellers. When a new sale or season comes, you only design the background, not reshoot the products.
Free background remover vs editing apps
| Option | Speed | Cost | Privacy |
|---|---|---|---|
| Manual selection in a photo editor | Slow (minutes per photo) | Often paid software | On your device |
| Online removers that upload your file | Fast | Free tier, then credits or watermark | Photo sent to a server |
| Orixiva AI background remover | Fast after the first load | Free, no watermark | Processed in your browser |
For hero images on a big campaign, a designer may still refine edges by hand. For everyday product photos, a good AI cutout from a well-shot photo is usually all you need to remove background from product photos at scale.
Doing many products at once
The background remover handles one image at a time, which keeps quality checks easy: you look at every cutout before you download it. For a catalogue, work in a simple loop:
- Shoot all products in one session with the same light, background and camera distance.
- Remove each background and download the PNGs into one folder.
- Drop the whole folder into the bulk image resizer and apply one recipe to square, convert, compress and rename everything together.
Want more background-removal ideas beyond products, like headshots and signatures? Read our earlier guide on removing an image background with AI.
Mistakes to avoid
Uploading the transparent PNG as the main marketplace image
Some platforms show transparency as black or grey. For main images, place the product on pure white first.
Not checking edges at full size
A cutout that looks perfect as a thumbnail can have halos or missing corners at 100%. Always check on a dark and a light colour.
Mixing styles across the shop
Different backgrounds, sizes and angles make a catalogue look messy. Decide one style and stick to it.
Shrinking the product too much
A small product in a big white square looks lost. Aim for the product to fill most of the frame, about 85% on Amazon.
Editing away important details
Do not remove parts of the product, change its colour or hide defects. Buyers expect the photo to match what arrives.
Your turn: Which product was hardest to cut out: glass, fur, jewellery, something white? Tell us in the comments what you sell and what background you use, and help other sellers find a style that works.
Remove your product photo background now, free
Drop a product photo, let the AI cut it out, and download a transparent or white-background PNG in seconds. No sign-up, no watermark, and your photo stays on your device.
Open the free AI background remover → Need to resize or compress the result? Search on orixiva.comProduct background removal questions people often ask
How do I remove the background from a product photo for free?
Open the Orixiva AI background remover, drop your JPG, PNG or WebP photo, press Remove Background with AI, choose transparent or a colour, and download the PNG. It is free and has no watermark.
Is the background remover really free with no watermark?
Yes. There is no sign-up, no credit system and no watermark on the downloaded PNG.
Are my product photos uploaded anywhere?
No. The AI model runs in your browser, so the image is processed on your device and is not sent to an Orixiva upload server.
Why is the first image slower?
The first time, your browser downloads the AI model. It is reused afterwards, so the next images are processed much faster.
What background does Amazon require for product photos?
The main image needs a pure white background (RGB 255, 255, 255), with the product filling about 85% of the frame. Check Amazon’s current rules for your category.
Should I save product images as PNG or JPG?
Use PNG when you need transparency. For marketplace listings on white, JPG gives smaller files with the same look; convert and compress after the cutout.
How do I add a white background after removing it?
Choose Custom color, enter #FFFFFF and download. The product is placed on pure white in the PNG.
Can AI remove backgrounds from glass or hair?
Usually well, but see-through and fine details are the hardest. Shoot against a plain, contrasting background and check the cutout on a dark colour.
What size should a product photo be?
A square of 1,200 to 2,000 pixels works on most platforms. On Amazon, at least 1,000 px on the longest side allows zoom.
Can I remove backgrounds on my phone?
Yes. The tool runs in mobile Safari and Chrome. Very large photos may take longer on older phones.
Can I use the cutout for print, like flyers or packaging?
Yes, as long as the original photo has enough pixels. For print, start from the full-resolution photo and avoid enlarging the cutout afterwards.
Does removing the background change the product colours?
No. The tool only removes the background around the product; the pixels of the product itself stay the same.